
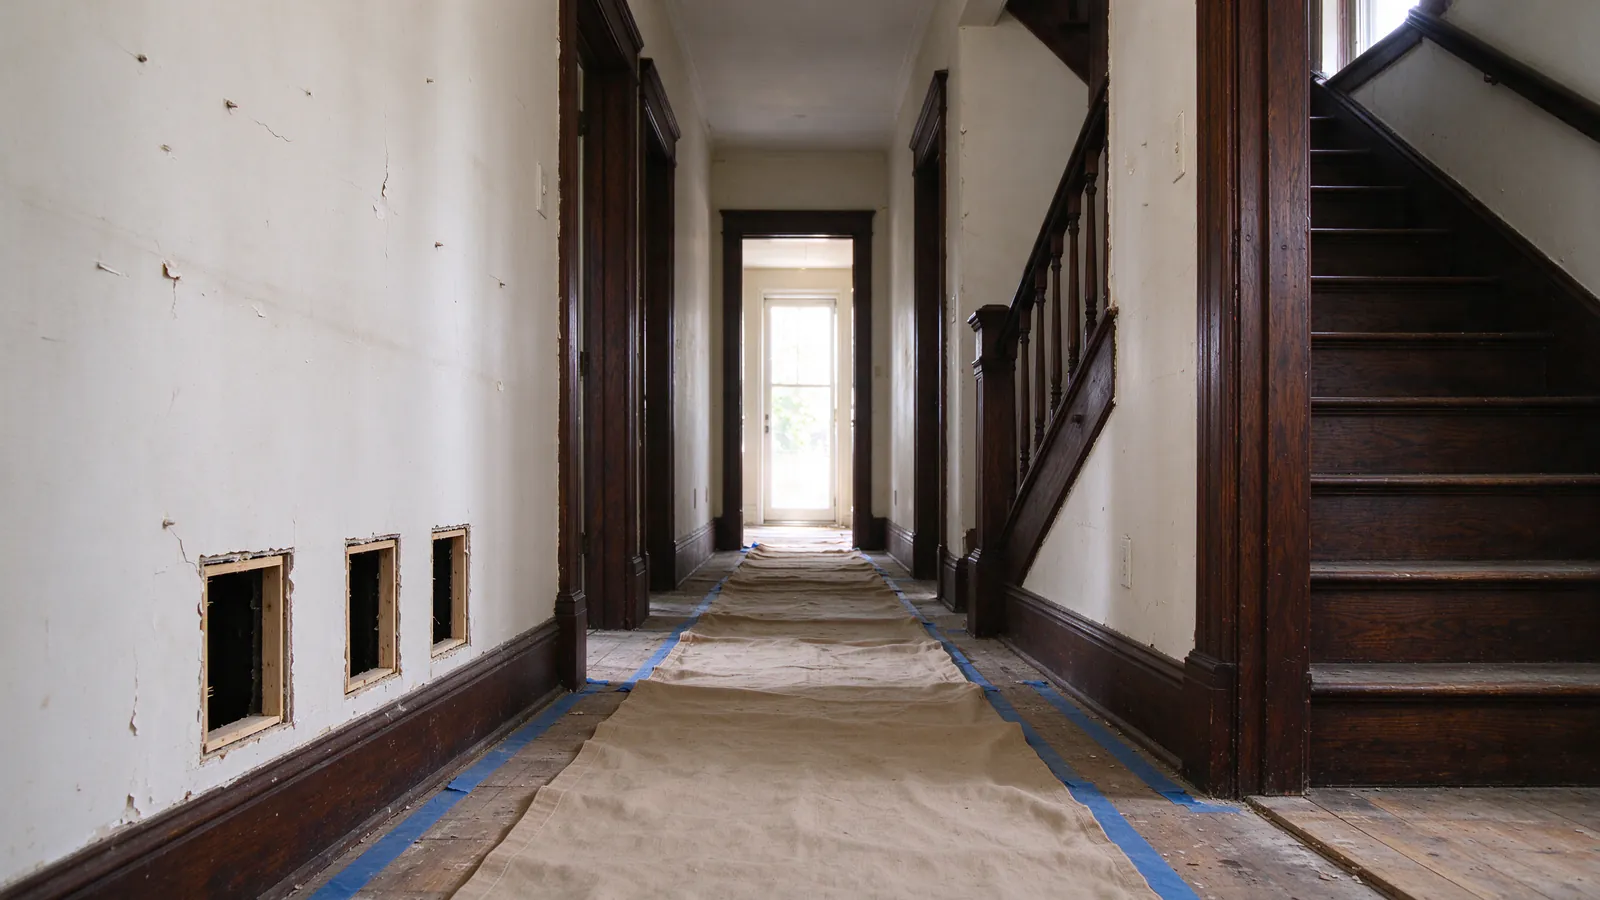
This is an illustrative occupied-home rewiring schedule, not a record of a real job. It follows a made-up Philadelphia rowhouse through a whole-home knob-and-tube replacement while the household keeps living there, to show what happens in what order and why the order matters.
The Illustrative House
The house in this example is a two-story brick rowhouse with a basement, built in the 1920s. Its party walls are masonry shared with the neighbors on each side, and its interior partitions are wood framing with plaster on lath. The basement ceiling is open, with the floor joists visible. Above the second floor there is a shallow space under a low-slope roof, reached through a small hatch in the hallway ceiling.
A previous owner replaced the old fuse box with a breaker panel and remodeled the kitchen, which got new circuits at the time. The household is two adults and a child, one adult works from home, and the reason for the project is a home insurer’s question at renewal about whether the house still has active knob-and-tube. The homeowners insurance guide explains how a request like that should be pinned down in writing before anyone scopes the work.
The Starting Assessment
A licensed electrician begins at the panel, listing each breaker and what it is labeled to serve. In the basement, knob-and-tube runs are visible on the joists, some ending at cut-off points and some continuing up into the walls. In the shallow roof space, runs on knobs cross toward the second-floor ceiling lights. Each light and receptacle in the house is then matched to its breaker.
In this illustration, the map shows the kitchen on modern cable, and everything else, the living and dining rooms, both bedrooms, the bathroom lighting, the stair and hall lights and the front porch light, on knob-and-tube. Two bedroom receptacles have been changed to three-prong devices with no ground behind them. One attic splice joins newer cable to an old run without a box.
The electrician also records access. The open basement ceiling gives a route to the bottom of every first-floor wall. The roof space reaches most of the second-floor ceiling, but not the front bedroom’s outer corner. Some walls have no clear path from either end, so a few small plaster openings will be needed. The household’s must-keep-powered list is the refrigerator, a home office and a medical device in the back bedroom.
From that map comes the plan: replace every live knob-and-tube circuit, add circuits where the old layout put too many rooms on one, disconnect the old runs at both ends, and remove the accessible dead runs in the basement and roof space. The quote breaks this out by circuit and lists each planned opening and who closes it. Using the published planning range, a substantial whole-home replacement of a Philadelphia house like this one would sit somewhere in $9,000 to $25,000, but that is a budgeting range, not a quote, and the Philadelphia cost guide explains what pushes a job toward either end.
An Illustrative Occupied-Home Sequence
The licensed contractor applies for the electrical permit through L&I’s eCLIPSE system and arranges a licensed third-party inspection agency. With the permit in hand, the work runs in stages. The order below is typical for an occupied rowhouse with this kind of access; a different house could reasonably run it differently.
Stage one: preparation and new homes for the circuits
Before any wire is pulled, the household clears the walls where openings are planned and the space under the attic hatch. The contractor confirms panel space for the new circuits. Where a basement is open, new cable runs along the joists toward each first-floor wall, ready to come up into new boxes. Power stays on for everything except what the electrician is working on.
Stage two: first-floor circuits from below
The living room, dining room and front hall circuits are replaced from the basement. Cable comes up through the bottom plate of each wall into a new box at each receptacle. Old devices are removed, and the old knob-and-tube feeding them is disconnected. The household loses power to one room or two at a time, and the home office stays on its own circuit while this happens.
Stage three: second floor and ceiling lights from above
Ceiling lights, bedroom circuits and the hall lighting are reached from the roof space and fished down through the top plates. The front bedroom’s outer corner, which the roof space does not reach, gets a small plaster opening near the ceiling. Bedroom work produces the most dust in the house, so furniture is covered and the household may sleep in another room for a night. The medical device in the back bedroom is moved to a circuit that stays live.
Stage four: rough-in inspection
Before any opening is closed, the inspection agency checks the rough-in: the new cable, boxes, supports and the work at the panel. Applicable rough-in work must be inspected before it is covered. If the inspector asks for a correction, it is made and checked before closing up.
Stage five: connecting, testing and closing
New circuits are connected at the panel, which is the stage that may mean a longer whole-house outage, scheduled in advance. Devices go in, circuits are tested and labeled, and the old runs are confirmed disconnected at both ends. Plaster openings are patched. Whether painting follows depends on the scope the household agreed to.
The living at home during rewiring guide covers the household side of each of these stages in more detail.
What Makes the Schedule Change
The illustration runs smoothly, and real projects often do not. The things that change the schedule are predictable even when their timing is not.
Hidden conditions are the biggest one. An opening can reveal an undocumented splice, a run that feeds a room no one expected, or a wall with blocking where a clear cavity was assumed. Each changes the route, and the contractor should explain the change before doing extra work. Mixed circuits, part modern and part knob-and-tube, take longer to untangle than clean original ones; the guide to mixed knob-and-tube and modern wiring explains why.
Inspection timing sets a floor on progress, since walls stay open until the rough-in passes. Materials found around old wiring can pause work too: if plaster or old insulation might contain asbestos, that question is answered before openings continue, as the asbestos and old house rewiring guide describes. And the household’s own needs, a working week, a child’s schedule, a device that cannot lose power, shape which stages happen on which days. The timeline guide goes through each driver.
What Completion Looks Like
The job in this illustration is not finished when the lights work. It is finished when the inspection agency passes the final inspection, the permit is closed, and the household has a record that shows what was done.
That record includes the permit number, the inspection reports, the contractor’s description of the circuits replaced, an updated panel directory and a statement that no active knob-and-tube remains in the house, or a list of any that does. Photographs of new wiring in open walls, taken before they were closed, are worth asking for. The final inspection guide explains the last step in Philadelphia, and the post on organizing rewiring records covers how to keep them. With those in hand, the household can answer the insurer’s original question in writing.
For the technical side of each stage, read the knob-and-tube rewiring process guide. If your own house looks something like this one, Philly Knob & Tube arranges whole-home knob-and-tube rewiring in Philadelphia through licensed electrical contractors, starting with the same kind of circuit map. Request an estimate to begin with yours.