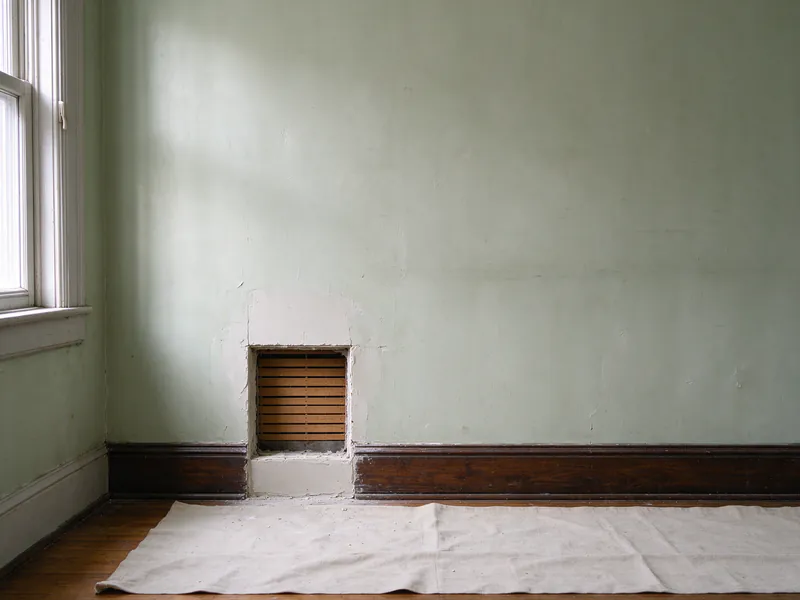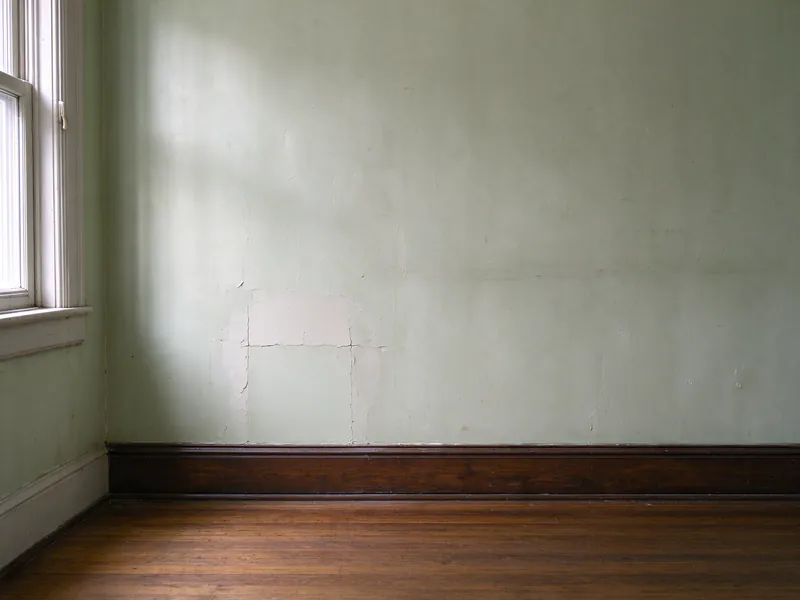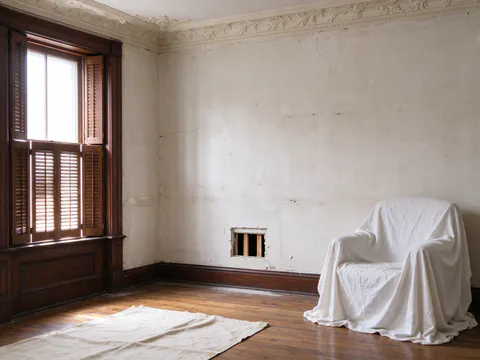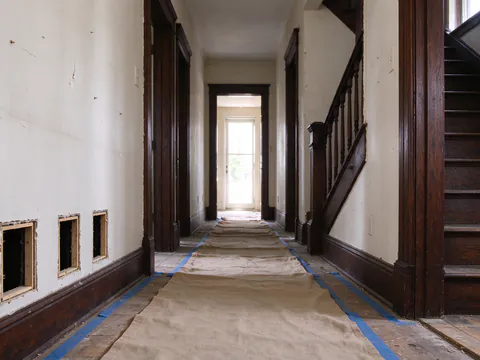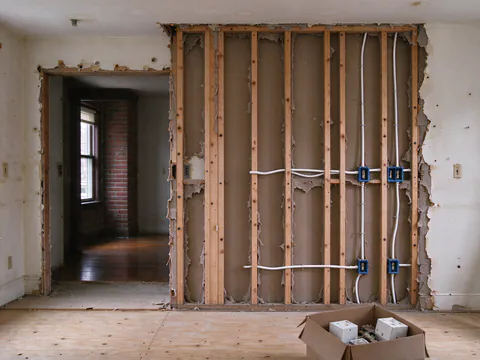
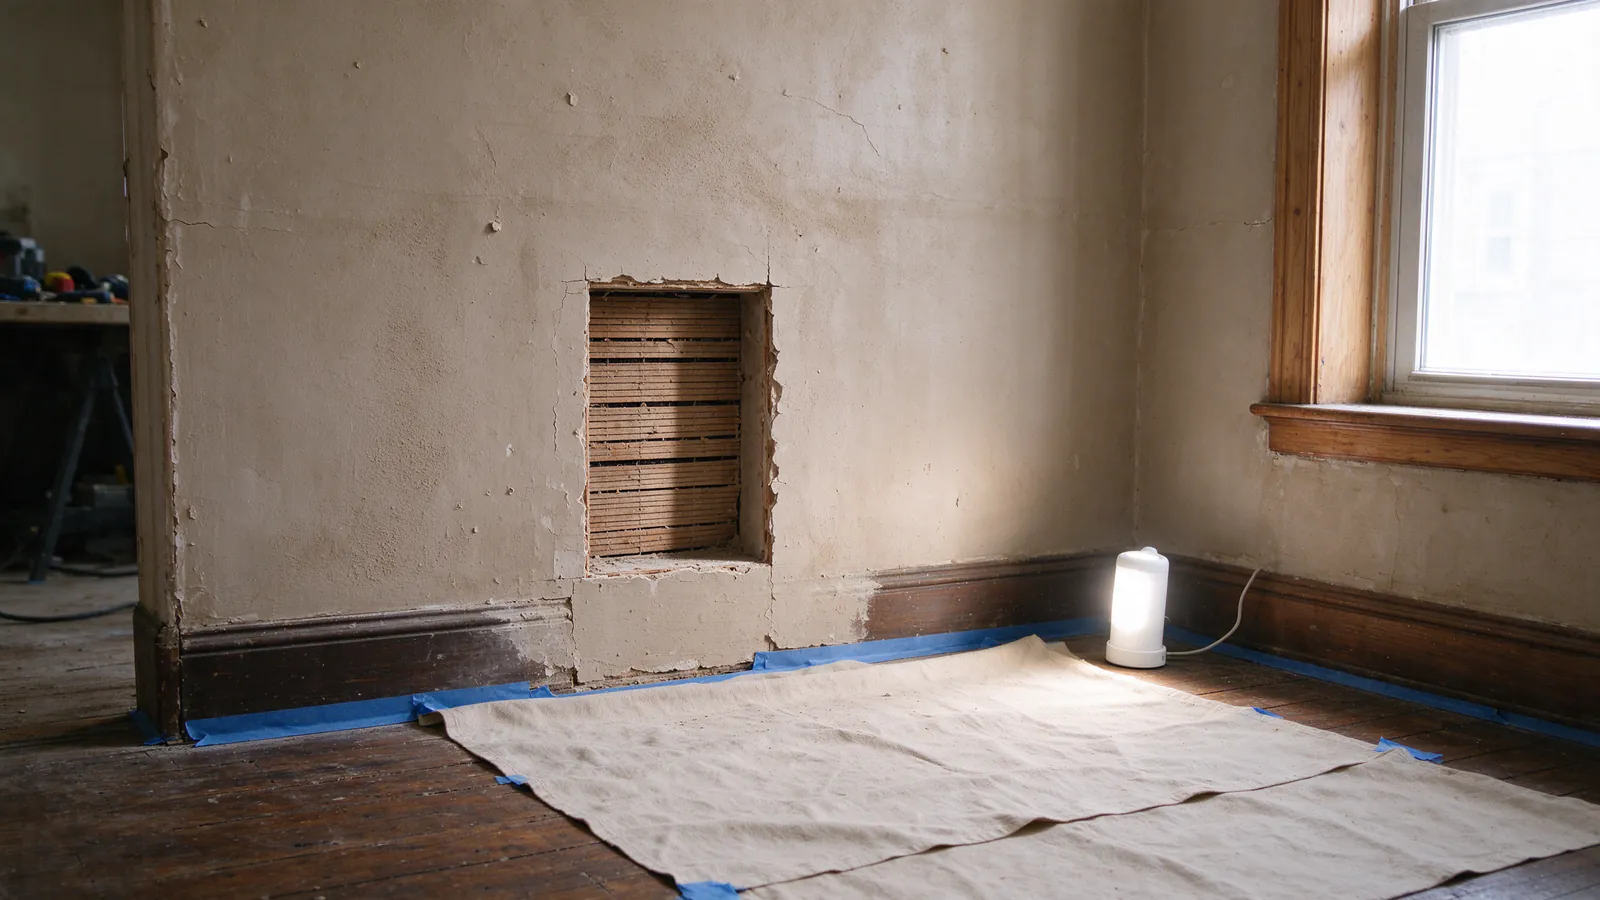
Philly Knob & Tube organizes knob-and-tube rewiring in Philadelphia houses finished with plaster on wood lath, with licensed and insured electrical contractors doing the electrical work. This page is about the physical job: how new cable gets through plaster walls that were never meant to be opened, where the openings go, why plaster sometimes cracks around them, and how the repair is scoped. Plaster-wall knob-and-tube rewiring rarely means tearing walls down, but it does mean some openings, and the quality of the job shows in how those openings are planned and closed.
Plaster is harder to work through than drywall for a simple reason. Drywall is one sheet screwed to the studs; three-coat plaster is a hard, brittle layer locked onto narrow wood strips with gaps between them. A cut in drywall stays where it is put. A cut in plaster can loosen the material around it if it is made carelessly. That difference shapes every decision below.
What happens on the first visit
The first visit maps routes before it maps openings. The electrician identifies which circuits are still live knob-and-tube and where they go, then looks for the paths a new cable could follow: the open basement ceiling, the attic floor, closets stacked above one another, chases beside chimneys or plumbing stacks, and the space under stair runs. In a rowhouse with an unfinished basement and an accessible attic, many first-floor outlets and top-floor ceiling lights can be reached with little or no wall cutting. The middle floor of a three-story house is usually the hardest, because there is finished space both above and below.
The visit also checks the condition of the plaster itself. Walls that already sound hollow when tapped, show bulges, or have long diagonal cracks above doors are more likely to move when opened. Noting that before work starts protects both sides: the owner knows which walls are fragile, and the patching scope accounts for them.
Choosing Routes Before Opening Plaster
Most new cable in a plaster house runs vertically inside the wall cavity between two studs, entering from below through the bottom plate or from above through the top plate. An electrician drills up from the basement or down from the attic into the cavity, then feeds cable toward the box location with fish tape, rods or a weighted line. When the cavity is clear from top to bottom, the only opening in the room is the hole for the box.
Cavities are often not clear. Horizontal blocking installed between studs, fire stops at floor lines, a window or door header, a diagonal brace or old plumbing can stop a cable partway. Each obstruction needs a small access hole at its height so the electrician can notch or drill through and keep the cable moving. Long flexible drill bits reduce the number of these holes, though they cannot pass every obstacle. Horizontal runs across a wall are the hardest, because they cross every stud; that is why a route that turns down to the basement and back up is often preferred to one that crosses a room at mid-height.
Ceilings follow their own logic. A light on the top floor can usually be fed from the attic with no ceiling cut at all. A light on a middle floor sits under a finished room, so the choices are to run cable within a single joist bay from a wall, to lift a few floorboards in the room above and drill across the joists there, or to open a narrow strip of ceiling plaster along the route. Lifting boards in a closet or under a rug often costs less in repair than cutting a plaster ceiling, which is harder to patch invisibly than a wall. The old knob-and-tube runs sometimes help: the holes bored through joists for the original conductors can occasionally be reused once the old wire is dead, saving new drilling in places that are hard to reach.
Some walls offer no cavity at all. Where a rowhouse’s party wall or exterior wall is plaster laid directly on brick, there is nothing to fish through. Outlets on those walls are usually relocated to a stud partition, fed from the floor below, or served by a surface raceway. The guide to replacing knob-and-tube without gutting walls explains which routing options exist and where each one runs out.
Working Around Lath and Trim
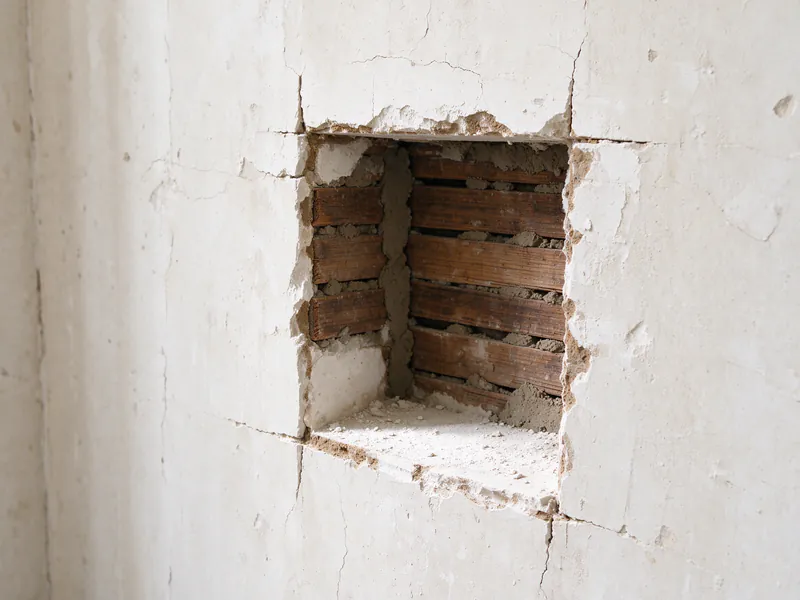
Plaster in pre-war Philadelphia houses is commonly three coats over wood lath: a scratch coat pushed through the gaps between strips, a brown coat to build thickness, and a thin finish coat. The plaster that squeezed through the gaps and curled behind each strip, called keys, is what holds the wall up. Breaking keys is what turns a neat opening into a loose patch of wall.
Electricians who do this work regularly cut plaster in ways that limit vibration. The outline is scored first, then cut with a sharp blade or an oscillating tool set to cut rather than hammer, with the lath strips supported or cut cleanly so they do not spring and shake the plaster around them. Box openings are kept to the size of the box. Old-work boxes, which clamp to the plaster or lath from inside the opening, are used because there is usually no stud at the exact location to fasten to.
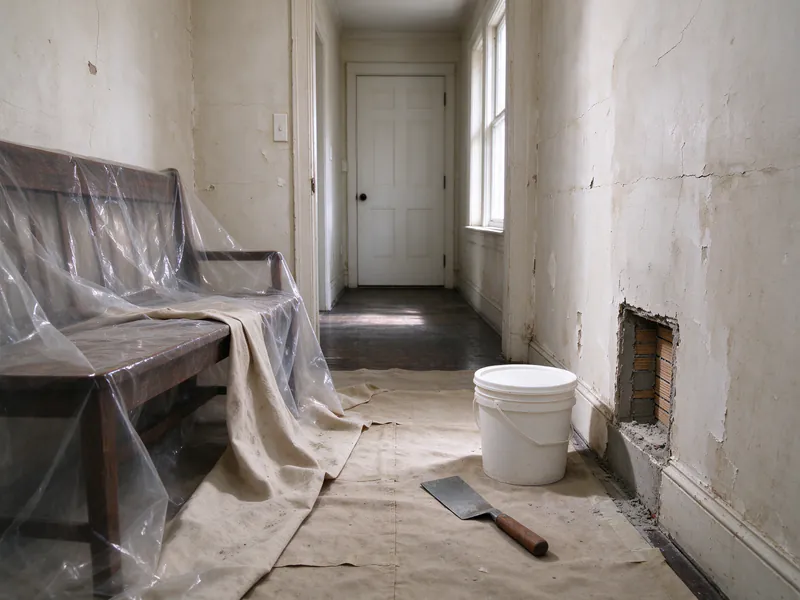
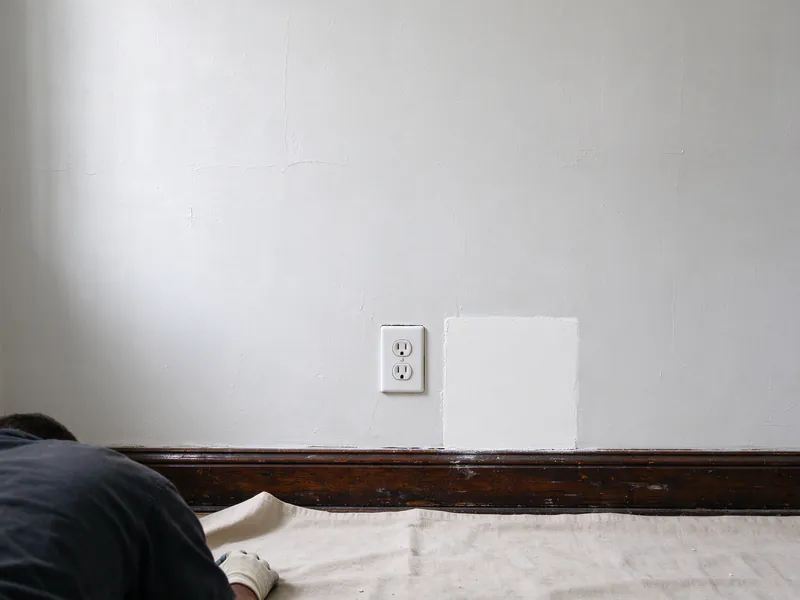
Placement does a lot of the work. An access hole near the floor can often sit behind the baseboard, so the patch is hidden once the board goes back. A hole at a doorway can sit behind the casing. A box opening at an existing outlet location reuses a spot that already has a cover plate. Some houses also have later metal lath, a layer of mesh over the old plaster, or a ceiling of drywall laid over the original. Each one changes the cutting method and should be noted on the opening map. For houses where the trim and ornament themselves are the priority, the historic-home replacement page covers how finishes are ranked before routes are chosen.
Paint is the other material in the wall. Painted plaster in a pre-1978 house may contain lead in its older layers, so cutting it creates dust that should be contained and cleaned up rather than swept. Ask the contractor how they handle that, especially if young children live in the house.
Planning Electrical and Finish Repairs
The patching scope belongs in the proposal, not in a conversation after the walls are open. Three arrangements are common. In the first, the electrician fills each opening flush with patching material and leaves it ready for finishing, which means the patch is solid but visible. In the second, a plaster or drywall finisher follows the electrician to fill, skim and match the surrounding surface and prime it for paint. In the third, the owner arranges the finish work, often because a paint or restoration project is already planned. The comparison table on this page sets those options side by side.
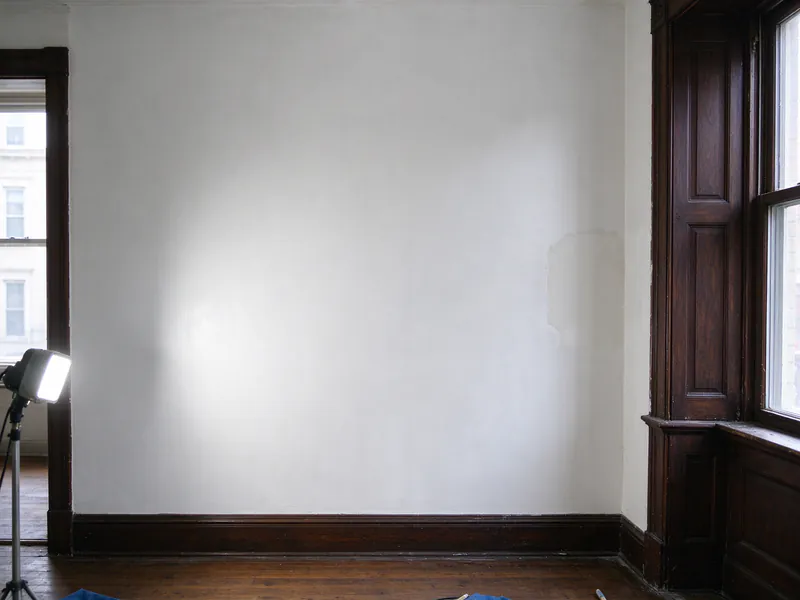
What the finisher does depends on the wall. Small box openings are often closed with setting-type compound over a backer fastened to the lath. Larger access holes may get a drywall plug cut to fit and then skimmed so the edges disappear, or a true plaster repair where the owner wants the patch to match original plaster in hardness and texture. Cracks that opened around a cut are usually taped and skimmed as part of the same visit. Painting is almost always a separate line item, because touching up a patch on a wall painted years ago rarely blends, and the honest answer is often to repaint the wall from corner to corner.
There is no single published price for plaster restoration after rewiring. The cost depends on the number and size of openings, how fragile the existing plaster is, whether a plain flush finish or a matched plaster surface is wanted, ceiling height and stairwell access, and whether painting is included. A proposal that lists each opening makes it possible to price that work properly. The guide to comparing rewiring quotes shows how to line up two proposals that treat patching differently, and the printable quote checklist on the resources page lists the questions to ask.
Want the patching scope in writing?
A route survey turns into an opening map, and the map tells you exactly what the finish work involves.
Inspection and Restoration Sequence
Order matters on a plaster job because the openings cannot be closed until the new wiring is inspected. In Philadelphia, rough-in work has to be inspected before it is covered, and the inspection is performed by a licensed third-party electrical inspection agency hired by the owner or the owner’s agent rather than by an L&I inspector. So the sequence runs: openings cut, new cable fished and boxes set, old circuits disconnected, rough-in inspection, then patching, then devices, fixtures and the final inspection.
Planning around that sequence is what keeps the house livable. Openings typically stay open for a few days between the rough-in and the inspection, and that gap is the main reason to protect furniture and keep work areas contained. Plastic sheeting with a zipper door around the work area, covered floors along the path to the basement, and vacuuming with a filtered vacuum as the cutting happens keep dust in one place. Furniture is moved away from the walls being opened, not out of the house. Circuits are turned off one at a time as they are replaced, so the whole house is rarely without power at once.
The living at home during rewiring guide covers daily life during the job in more detail, and the rewiring process guide walks through every stage from survey to final inspection. If the house is already torn open for a kitchen or bath, the sequence changes; the renovation replacement page covers that case.
Cost Drivers for Plaster-Wall Rewiring
Plaster adds labor in two places: the electrical work, because every route takes longer to find and open, and the repair, because every opening has to be closed and finished. The drivers that move a plaster-wall rewire the most are the number of active knob-and-tube circuits, the number of stories, how open the basement and attic are, finished ceilings on middle floors, the number of devices and rooms, any new circuits required by the work, and the patching and painting scope. Occupied-home protection and uncertainty about how much knob-and-tube is still live also move the price.
For whole-house work, a substantial knob-and-tube replacement in a Philadelphia house is commonly budgeted at $9,000 to $25,000. That is a planning range, not a quote from Philly Knob & Tube; it covers replacing the active knob-and-tube branch circuits, and plaster restoration and painting may be excluded from it, along with panel or service work. A house with difficult access or a matched-plaster finish standard can exceed it. The Philadelphia cost guide breaks the drivers down, and the cost estimator shows how access and size shift the figure.
Plaster houses can also be rewired in stages. A whole-home rewiring replaces every live circuit in one project, while a partial replacement handles the priority circuits first and documents what remains. Either way the same opening map carries forward. Neighborhood pages under service areas describe the housing in each part of the city, the guide library covers related questions, the about page explains how projects are arranged, and the contact page is the place to start a route survey.